Elkron IT500WEB Manual de Usario
Lee a continuación 📖 el manual en español para Elkron IT500WEB (40 páginas) en la categoría Seguridad. Esta guía fue útil para 6 personas y fue valorada con 4.5 estrellas en promedio por 2 usuarios
Página 1/40
1/40
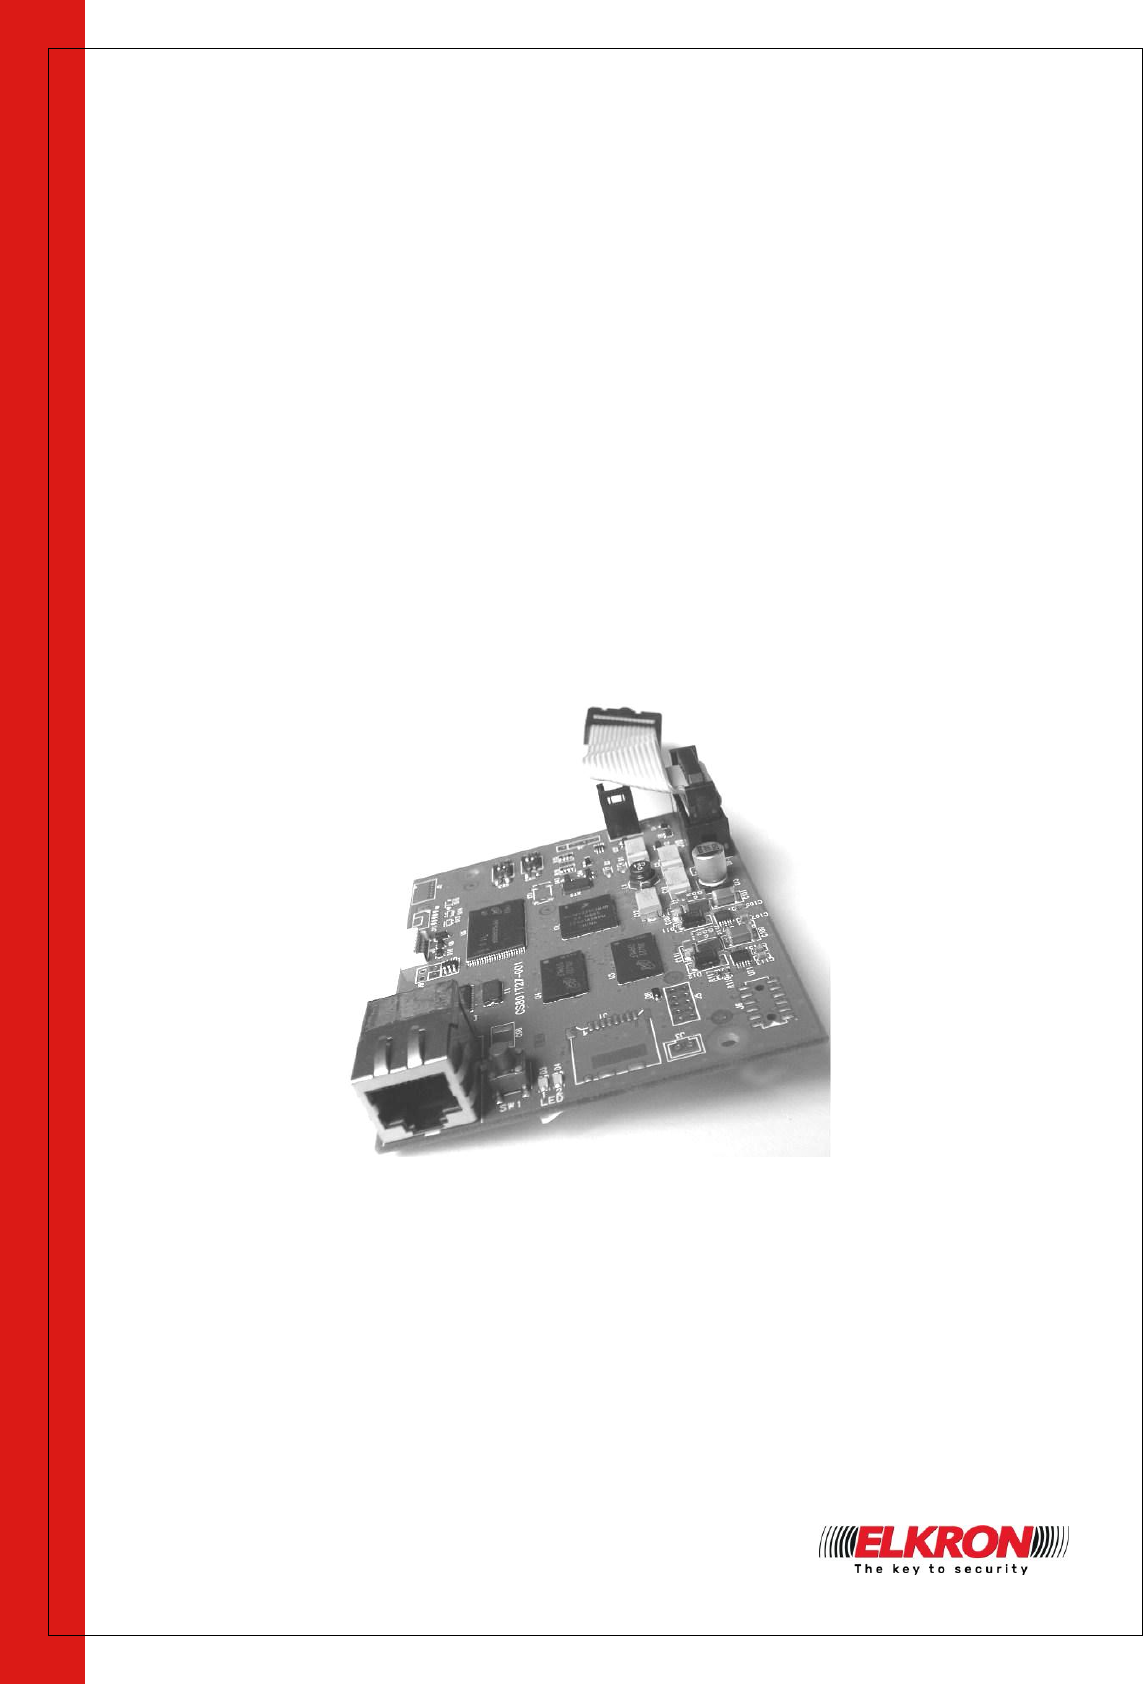
INTERFACCIA WEB SERVER IT500WEB
WEB SERVER INTERFACE IT500WEB
INTERFACE SERVEUR WEB IT500WEB
WEBSERVER-SCHNITTSTELLE IT500WEB
GUIDA RAPIDA WEB SERVER
WEB SERVER QUICK START GUIDE
GUIDE RAPIDE SERVEUR WEB
WEBSERVER-KURZANLEITUNG
DS80IT27-008C
LBT80874

2/40
ITALIANO STEP 1 - Montaggio scheda
1. Per eseguire il montaggio dell’interfaccia nelle centrali MP500 procedere nel seguente modo:
Sganciare la scheda madre dalla propria sede e ribaltarla;
Posizionare l’interfaccia sul fondo della centrale nella posizione A e fissarla mediante le due
viti fornite a corredo;
Per collegarla, inserire un connettore del cavo flat sull’interfaccia e l’altro sul connettore della
scheda madre (J11);
Inserire il cavo ethernet LAN sul connettore RJ45 dell’interfaccia.
ATTENZIONE! Il collegamento e scollegamento delle opzioni e accessori devono
essere sempre effettuati a centrale non alimentata (rete e batteria sconnesse).
J11

3/40
STEP 2 – Inizializzazione scheda
1. Prima di procedere impostare sulla Centrale i seguenti parametri:
Menu Master ABILITA AVANZATE ACCESSO REMOTO = ABILITA
Menu Master ABILITA AVANZATE DISATTIVA DA REMOTO = ABILITA
Menu Tecnico MANUTENZIONE MODO D’USO = MODO 2 o MODO 0
Menu Tecnico PROGRAMMAZIONI SETTORI CONFIGURA SETTORI = STANDARD o
AUTOINIBIZIONE *
(*) Operazione da effettuare su tutti i settori presenti).
2. Installare il software Hi-Connect (versione 3.70 o successive) su un PC. Per installarlo, seguire la
procedura descritta nel manuale “Hi-Connect Installazione e Gestione”.
ATTENZIONE! Il sistema operativo Windows XP non è supportato.
3. Collegare il cavo LAN del Web Server direttamente al PC.
4. Predisporre e impostare il PC modificando i parametri di scheda Ethernet utilizzata.
Procedere come segue:
a)
Recarsi in "Start" e digitare: Pannello di controllo
b)
Si aprirà una finestra, selezionare “Pannello di controllo”
c)
Da "Pannello di controllo" selezionare "Centro connessioni di rete e condivisione"
Nota: Accertarsi che la voce “Visualizza per:” sia impostata su “Icone piccole”
d)
Da "Visualizza reti attive" selezionare la rete visualizzata in "Connessioni:"
e)
Si aprirà una finestra con le informazioni sulla rete, selezionare la voce "Proprietà"
f)
Si aprirà una finestra con le proprietà della rete, doppio click su "Protocollo Internet versione 4
(TCP/IPv4)".
g)
Selezionare “Utilizza il seguente indirizzo IP” ed inserire in “Indirizzo IP”: 192.168.1.10 e
in “Subnet mask”: 255.255.255.0
5. Eseguire il software Hi-Connect (PWD:123456).
6. Dopo aver effettuato l’accesso, si apre la finestra principale dei menu di Hi-Connect.
Cliccare sul tasto “INIZIALIZZA IT500WEB”.
Nota: Prima di procedere occorre individuare un indirizzo IP e il Gateway da assegnare al Web
Server. Queste informazioni possono essere individuate collegandosi al router (es. utilizzando la
connessione Wi-Fi dello PC), dove sarà installato il Web Server, utilizzando il comando IPCONFIG.
Procedere come segue:
a)
Recarsi in "Start" e digitare: CMD
b)
Si aprirà una finestra, selezionare “Prompt dei comandi”
c)
Si aprirà una finestra, digitare: IPCONFIG e premere “Invio/Enter”
d)
Sarà visualizzato l’elenco delle connessioni attive e i relativi parametri di rete
e)
Individuare i parametri della rete (es. Scheda LAN wireless…)
f)
Utilizzare come Indirizzo IP per il Web Server l’indirizzo precedentemente individuato
incrementandolo di alcune unità (es. Indirizzo IPv4 visualizzato = 192.168.8.18; Indirizzo IP
Web Server = 192.168.8.98)
g)
Utilizzare come Gateway per il Web Server il Gateway predefinito precedentemente individuato
(es. Gateway predefinito visualizzato = 192.168.8.1; Gateway predefinito Web Server =
192.168.8.1)
7. Inserire i dati richiesti dal wizard; quelli contrassegnati da un asterisco sono obbligatori. Proseguire
cliccando sul tasto “AVANTI” fino alla comparsa della finestra “INIZIALIZZAZIONE COMPLETATA!”.
8. Nella stessa schermata verranno visualizzati due campi compilati con il MAC Address ed il Codice
ID del Web Server inizializzato.
9. Salvare con i tasti “COPIA” i due codici su un file editor (Word o altro), poiché sono fondamentali
per la successiva registrazione sul Portale WEB (www.myelkronhome.com)
10. Proseguire cliccando sul tasto “FINE”.
11. Apparirà una finestra con “Salvare le modifiche effettuate?”. Selezionare “SI” per salvare i dati.
ATTENZIONE! Selezionando “NO” i dati inseriti in Hi-Connect andranno persi ma, il Web Server,
risulterà configurato con i dati inseriti. Nota: L’indirizzo IP di fabbrica del Web Server è
192.168.1.100.
Especificaciones del producto
| Marca: | Elkron |
| Categoría: | Seguridad |
| Modelo: | IT500WEB |
¿Necesitas ayuda?
Si necesitas ayuda con Elkron IT500WEB haz una pregunta a continuación y otros usuarios te responderán
Seguridad Elkron Manuales

8 Septiembre 2024
8 Septiembre 2024
8 Septiembre 2024
8 Septiembre 2024
8 Septiembre 2024
8 Septiembre 2024
8 Septiembre 2024
8 Septiembre 2024
8 Septiembre 2024
8 Septiembre 2024
Seguridad Manuales
- Seguridad Bosch
- Seguridad Panasonic
- Seguridad Grundig
- Seguridad Honeywell
- Seguridad Siemens
- Seguridad Abus
- Seguridad Alphatronics
- Seguridad Aritech
- Seguridad Prestigio
- Seguridad Airbolt
- Seguridad Brennenstuhl
- Seguridad Hikvision
- Seguridad Nedis
- Seguridad Yale
- Seguridad Tevion
- Seguridad Eminent
- Seguridad Blaupunkt
- Seguridad Ezviz
- Seguridad Trust
- Seguridad Elro
- Seguridad Doro
- Seguridad Axa
- Seguridad Optex
- Seguridad Axis
- Seguridad Theben
- Seguridad Maginon
- Seguridad Velleman
- Seguridad Smartwares
- Seguridad Easymaxx
- Seguridad Profile
- Seguridad Marquant
- Seguridad Trebs
- Seguridad Ednet
- Seguridad Fenton
- Seguridad Eufy
- Seguridad Perel
- Seguridad Steinel
- Seguridad Somfy
- Seguridad Goliath
- Seguridad Devolo
- Seguridad Lamax
- Seguridad Audiovox
- Seguridad Netgear
- Seguridad Nest
- Seguridad Grothe
- Seguridad LevelOne
- Seguridad Unitron
- Seguridad Netatmo
- Seguridad Goobay
- Seguridad Switel
- Seguridad Bticino
- Seguridad Topcraft
- Seguridad First Alert
- Seguridad Sygonix
- Seguridad Nemef
- Seguridad Dahua
- Seguridad Powerfix
- Seguridad Foscam
- Seguridad BRK
- Seguridad Bavaria
- Seguridad Juwel
- Seguridad Hagenuk
- Seguridad Technaxx
- Seguridad Waeco
- Seguridad Logicom
- Seguridad Xavax
- Seguridad Marmitek
- Seguridad Orbis
- Seguridad Niko
- Seguridad Gira
- Seguridad Jung
- Seguridad Basetech
- Seguridad Interlogix
- Seguridad Dnt
- Seguridad Trendnet
- Seguridad Fito
- Seguridad Urmet
- Seguridad Iget
- Seguridad Wanscam
- Seguridad Easy Home
- Seguridad Geemarc
- Seguridad Satel
- Seguridad Dymond
- Seguridad Notifier
- Seguridad Friedland
- Seguridad Plustek
- Seguridad Golmar
- Seguridad Grandstream
- Seguridad Batavia
- Seguridad Storage Options
- Seguridad Provision ISR
- Seguridad NetworX
- Seguridad Bitron Video
- Seguridad Eden
- Seguridad Monacor
- Seguridad Zmodo
- Seguridad Velbus
- Seguridad Elro-Flamingo
- Seguridad Electronics Line
- Seguridad One2track
- Seguridad HUMANTECHNIK
- Seguridad Heidemann
- Seguridad Directed Electronics
- Seguridad Oplink
- Seguridad BML
- Seguridad Unitec
- Seguridad Jablotron
- Seguridad Muller
- Seguridad Home8
- Seguridad AVTech - Velleman
- Seguridad Galaxy
- Seguridad Sonic Alert
- Seguridad I-onik
- Seguridad Smartalarm
- Seguridad GE Security
- Seguridad Nor-tec
- Seguridad Entrya
- Seguridad Kopp
- Seguridad Tegui
- Seguridad Stobo
- Seguridad Kompernass
- Seguridad Iiquu
- Seguridad Storex
- Seguridad Powermax
- Seguridad Woonveilig
- Seguridad Mikros
- Seguridad V-Tac
- Seguridad Bolyguard
- Seguridad Indexa
- Seguridad Skytronic
- Seguridad Paradox
- Seguridad Flamingo FA15RF
- Seguridad SecuFirst
- Seguridad BRK DICON
- Seguridad FBII
- Seguridad FlinQ
- Seguridad Dericam
- Seguridad Myfox
- Seguridad Kocom
- Seguridad RISCO Group
- Seguridad SmartHome
- Seguridad Bellman
- Seguridad Protector
- Seguridad I-Tel
- Seguridad Home Protector
- Seguridad Ksenia
- Seguridad Mr Safe
- Seguridad Epine
- Seguridad Inner Range
- Seguridad Dedicated Micros
- Seguridad Visonic
- Seguridad PROmax
- Seguridad Y-cam
- Seguridad Selvag
- Seguridad Voxx
- Seguridad Fracarro
- Seguridad Guardall
- Seguridad Xena
- Seguridad Smanos
- Seguridad One Concept
- Seguridad QuattSecure
- Seguridad NetBotz
- Seguridad Securitas
Últimos Seguridad Manuales
24 Octubre 2024
22 Octubre 2024
21 Octubre 2024
20 Octubre 2024
20 Octubre 2024
18 Octubre 2024
18 Octubre 2024
18 Octubre 2024
5 Octubre 2024