SentrySafe SFW205BWC Manual de Usario
SentrySafe
Bóveda
SFW205BWC
Lee a continuación 📖 el manual en español para SentrySafe SFW205BWC (12 páginas) en la categoría Bóveda. Esta guía fue útil para 7 personas y fue valorada con 4.5 estrellas en promedio por 2 usuarios
Página 1/12

: SentrySafe.com
: 1-800-828-1438
Water/Fire-Resistant Digital Safe with Fingerprint Scanner
Coffre-fort numérique avec lecteur d’empreintes digitales résistant
à l’eau et aux incendies
Caja fuerte digital impermeable/ignífuga con escáner de huellas digitales

Your SentrySafe Product
Your SentrySafe product has a number of features to keep your
important documents and valuables protected including:
Water Protection UL Classified
Fire Protection
Digital Media
Protection
Preparing Your Safe for First Time Use
1
2
Slide out the battery drawer on the side
of the keypad. Insert 4 AAA alkaline
batteries (not included). DO NOT use
rechargeable batteries or any other
type of non-alkaline battery.
Do not mix old and new batteries.
Do not mix alkaline and standard batteries.
Slide battery drawer back into keypad until it clicks into place.
Using Your Safe
Enter the 5 digit factory code found on the back of this
owner’s manual.
Turn handle downward to open safe.
IMPORTANT: Test your code several times before putting
valuables inside.
IMPORTANT: If you exert too much force on the handle,
the handle will move without moving the bolts. When this
happens, you will hear a ’click.’ DO NOT be alarmed.
This feature is designed to protect the bolts from being
overpowered by force. Simply exert force in the opposite
direction (lifting up) until the handle clicks back
into place.
Thank you for choosing SentrySafe to store all your important documents and valuables.
We hope that this product will help you stay organized and provide you with the peace-of-mind of knowing the things most important to you are protected.
Water/Fire-Resistant Digital Safe with Fingerprint Scanner
3
4
Using Your SentrySafe
The digital lock on your safe comes with two flexible solutions
for entry: a digital keypad and fingerprint scanner. You
will be able to program two 5 digit codes in addition to the
factory code found on the back of this owner’s manual. The
fingerprint scanner can also be programmed for up to two
primary fingerprints and eight secondary fingerprints.
NOTE: To add or delete a secondary user s fingerprint, you must ’
have previously programmed a 5 digit primary user code.
NOTE: Factory code cannot be deleted.
Programming Digital
Keypad Entry
NOTE: Green light will flash blue then back to green to indicate
the safe is in program mode.
To Add a Primary User Code
Only 1 primary user code can be programmed at a time.
1
2
Press: “ ”P
Enter the 5 digit “FACTORY CODE”
(found on the back of this owner’s manual).
Press a 5 digit primary user code you have
chosen for your safe
3
Deleting a Primary User Code
1
2
Press: “ ” P
Enter the 5 digit “FACTORY CODE”
(found on the back of this owner’s manual).
Press: “ ” –“ ” –“ ” –“ ” –“ ”00000
NOTE: The electronic lock will NOT indicate that it has
deleted the user code—please test code to make sure it
has been deleted.
NOTE: A primary user code is necessary to adding/deleting
a secondary user code/fingerprint.
3
Programming the Secondary Code
Only 1 secondary user code can be programmed at a time.
1
2
Press: “ ” two timesP
Enter your programmed 5 digit primary user code.
Press a personal 5 digit secondary user code.
3
1
2
Press: “ ” two timesP
Enter your programmed 5 digit primary user code.
Press: “ ” –“ ” –“ ” –“ ” –“ ”00000
NOTE: The electronic lock will NOT indicate that it has
deleted the user code—please test code to make sure it
has been deleted.
3
Deleting a Secondary Code
Deleting all Primary Fingerprint User
1
2
Press: “ ”P
Enter the 5 digit “FACTORY CODE”
(found on the back of this owner’s manual).
Place any finger on the sensor.
Press: “ ”C
NOTE: The electronic lock will NOT indicate that it has
deleted the user’s fingerprint—please test to make sure
it has been deleted.
NOTE: This will delete both fingerprints for this user.
3
4
Programming Your
Fingerprint Scanner
NOTE: Green light will flash blue then back to green
to indicate the safe is in program mode.
NOTE: Each user will have the ability
to program two fingerprints.
NOTE: Turning the keypad sound off
may make it more difficult to use
fingerprint scanner as a single beep
indicates your finger has been scanned.
To Add a Primary Fingerprint User
1
2
Press: “ ”P
Enter the 5 digit “FACTORY CODE”
(found on the back of this owner’s manual).
Place finger on sensor. Once LED light turns green and beeps
once, remove finger from sensor.
When LED light turns blue, place same finger back on sensor.
LED light will change green and beep once for each valid scan.
Repeat this process until the sensor beeps 2 times (usually 5-10
successful scans), indicating primary fingerprint enrollment
complete.
Repeat steps 1-5 in order to add second primary fingerprint.
3
4
5
• Do not choose a finger with a cut or scar.
• Make sure hands are clean and dry before programming or
operating the fingerprint scanner.
• For optimal performance, clean the fingerprint sensor periodically
with a dry, lint-free cloth.
• The fingerprint sensor may not work well when cold.
Your Digital
Fingerprint Lock
Tips for Using Your
Fingerprint Scanner
Dual Key Lock
IMPORTANT: A dual key lock option is included
in your safe. Using this key can disable/enable
entry into the safe. This is NOT an override key.
Key must be in horizontal position to access safe.
English
6
Safe Warnings and
Important Information
• DO NOT store delicate items directly in your safe.
– In order to protect your valuables from potential threats of
flood, your safe is equipped with an airtight gasket. Because
of this gasket, moisture in the air could potentially be locked
inside your safe and accumulate inside your safe.
– The desiccant bag included in your safe during shipment
should be left inside your safe. . It is DO NOT DISCARD IT
intended to help absorb moisture. Replace or recharge
your desiccant bag every 6 months or as needed for
optimum performance.
– If you choose to store delicate items such as jewelry with
working parts, watches, stamps or photos in your safe, we
recommend putting them in an air-tight container prior to
placing in the safe for storage.
– NOTE: SentrySafe will not be responsible for any damage or
loss of items placed in the unit due to moisture.
• DO NOT store pearls in this safe. In the event of a fire, the
interior of your safe may reach up to 350˚F. While this temperature
is safe for your paper documents, digital media and other
valuables, pearls can be damaged at much lower temperatures.
• DO NOT store any film based technology or media in
this safe.
– This product is not intended to protect computer floppy disks
or diskettes, film cartridges, tapes, audio/video cassettes or
photo negatives.
• Your safe is only part of your total security protection.
– SentrySafe recommends that you store your safe in closets,
offices, basements, bedrooms and any other locations that
are convenient for you but out of direct line of sight from
prying eyes. The location of the safe does not affect the
safe’s ability to protect your valuables inside.
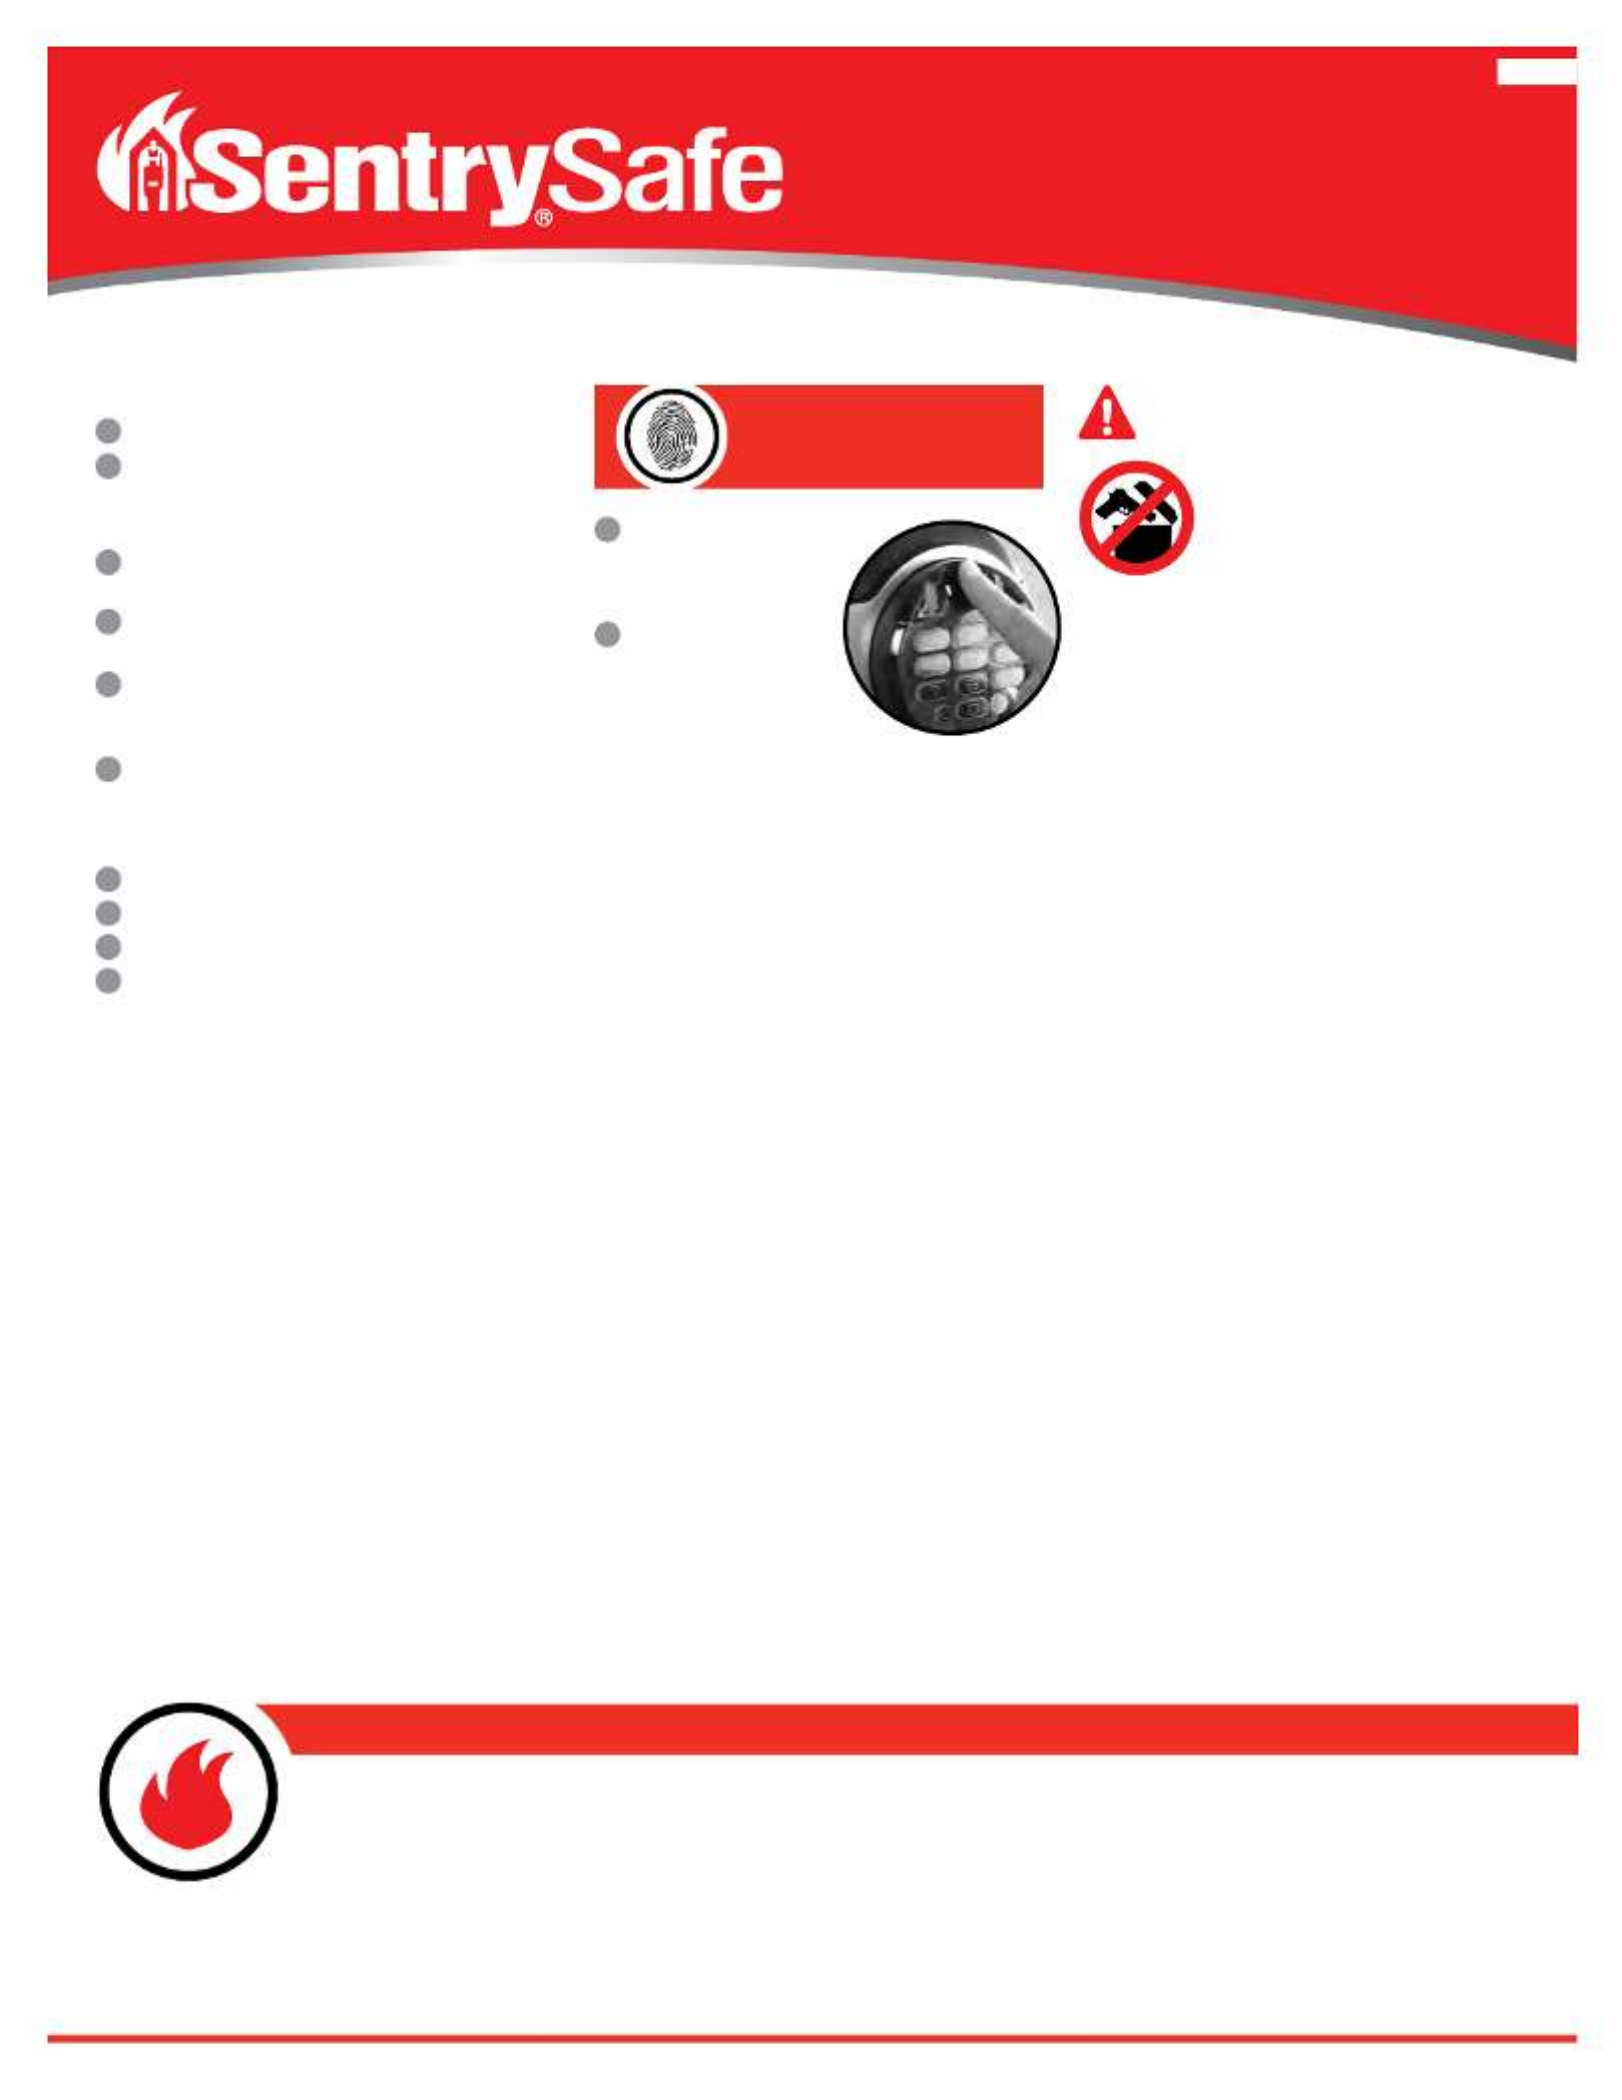
• This product is not intended for the secure
storage of all materials. Items such as
firearms, other weapons, combustible
materials and medication should not be
stored in this unit.
If your SentrySafe product is in a fire, it will be sealed shut making it necessary for it to be pried open. To help your family begin again, SentrySafe will ship a replacement
free of charge. To be eligible for the Limited Lifetime After Fire Replacement Program, you (the original owner) must register your product using the included registration form
or by visiting www.registermysafe.com.
For more information about the Limited Lifetime After-Fire Replacement Program, visit SentrySafe.com
Limited Lifetime After-Fire Replacement Program
To Add a Secondary Fingerprint User
1
2
Press: “ ” two timesP
Enter your programmed 5 digit primary user code.
NOTE: Blue light will blink to indicate the fingerprint sensor
is ready to scan a new fingerprint.
Place finger on sensor. Once LED light turns green and beeps
once, remove finger from sensor.
When LED light turns blue, place same finger back on sensor.
LED light will change green and beep once for each valid scan.
Repeat this process until the sensor beeps 2 times (usually
5-10 successful scans), indicating primary fingerprint
enrollment complete.
Repeat steps 1-5 in order to add multiple secondary
fingerprints.
3
4
5
Deleting all Secondary Fingerprint Users
1
2
Press: “ ” two timesP
Enter your programmed 5 digit primary user code.
Place any finger on the sensor.
Press: “ ”C
NOTE: The electronic lock will NOT indicate that it has
deleted the user’s fingerprint—please test to make sure it
has been deleted.
NOTE: This will delete both fingerprints for this user.
3
4
NOTE: Delay mode will occur if 3 consecutive invalid entries have
been tried. The red LED will blink on and off to let you know the
safe is in delay mode. This will cause the system to shutdown for
two minutes. DO NOT remove the batteries to restart the system;
it will only increase the length of time for the system shutdown.
1
2
Place your programmed finger
on sensor. A green light and
one beep indicate your finger
has been scanned.
Rotate the handle downward
to open the door
Programming Safe Features
To turn the light feature : ” – “ ” – “ ”off Press: “0 P 2
To program the light for 30 seconds: Press: “ ” – “ ” – “ ”on 0 P 3
To program the light for 60 seconds: Press: “ ” – “ ” – “ ”on 0 P 4
Digital Keypad Sound On/Off
To turn keypad sound : ” – “ ” – “ ”off Press: “0 P 0
To turn keypad sound : Press: “ ” – “ ” – “ ”on 0 P 1
Unlocking the Safe
Using the
Fingerprint Scanner
Interior Light
The interior light in your safe can be programmed to illuminate for
various time intervals upon opening your safe.
NOTE: Turning the keypad sound off may make it more difficult to
use fingerprint scanner as a single beep indicates your finger has
been scanned.
English
6
Especificaciones del producto
| Marca: | SentrySafe |
| Categoría: | Bóveda |
| Modelo: | SFW205BWC |
¿Necesitas ayuda?
Si necesitas ayuda con SentrySafe SFW205BWC haz una pregunta a continuación y otros usuarios te responderán
Bóveda SentrySafe Manuales

1 Octubre 2024
1 Octubre 2024
1 Octubre 2024
1 Octubre 2024
1 Octubre 2024
1 Octubre 2024
1 Octubre 2024
1 Octubre 2024
1 Octubre 2024
1 Octubre 2024
Bóveda Manuales
- Bóveda Philips
- Bóveda Honeywell
- Bóveda Abus
- Bóveda Ferm
- Bóveda Salvus
- Bóveda Workzone
- Bóveda Yale
- Bóveda SereneLife
- Bóveda Avanti
- Bóveda Hard Head
- Bóveda Thule
- Bóveda Guzzanti
- Bóveda Dometic
- Bóveda First Austria
- Bóveda Master Lock
- Bóveda Steren
- Bóveda Perel
- Bóveda Burg-Wachter
- Bóveda Royal Sovereign
- Bóveda Phoenix
- Bóveda Olympia
- Bóveda Kidde
- Bóveda Challenge
- Bóveda Topcraft
- Bóveda Barska
- Bóveda First Alert
- Bóveda Sygonix
- Bóveda Conrad
- Bóveda Juwel
- Bóveda Varo
- Bóveda Sentry
- Bóveda Filex
- Bóveda Kreator
- Bóveda Westfalia
- Bóveda Nauta
- Bóveda Jewel
- Bóveda Sistec
- Bóveda SMC
- Bóveda FireKing
- Bóveda Duralock
- Bóveda Tulox
- Bóveda Rottner Tresor
- Bóveda Olymp
- Bóveda Oxloc
- Bóveda Suncast
- Bóveda Winholt
- Bóveda Protector
- Bóveda Homak Security
- Bóveda NOFIRE
- Bóveda Technomax
- Bóveda Kreator-Varo
- Bóveda M-Locks
- Bóveda Fichero
- Bóveda EasySafe
- Bóveda ROMA
- Bóveda Stamony
Últimos Bóveda Manuales
27 Octubre 2024
27 Octubre 2024
27 Octubre 2024
26 Octubre 2024
20 Octubre 2024
15 Octubre 2024
15 Octubre 2024
15 Octubre 2024
15 Octubre 2024
15 Octubre 2024