SIIG CE-H26611-S1 Manual de Usario
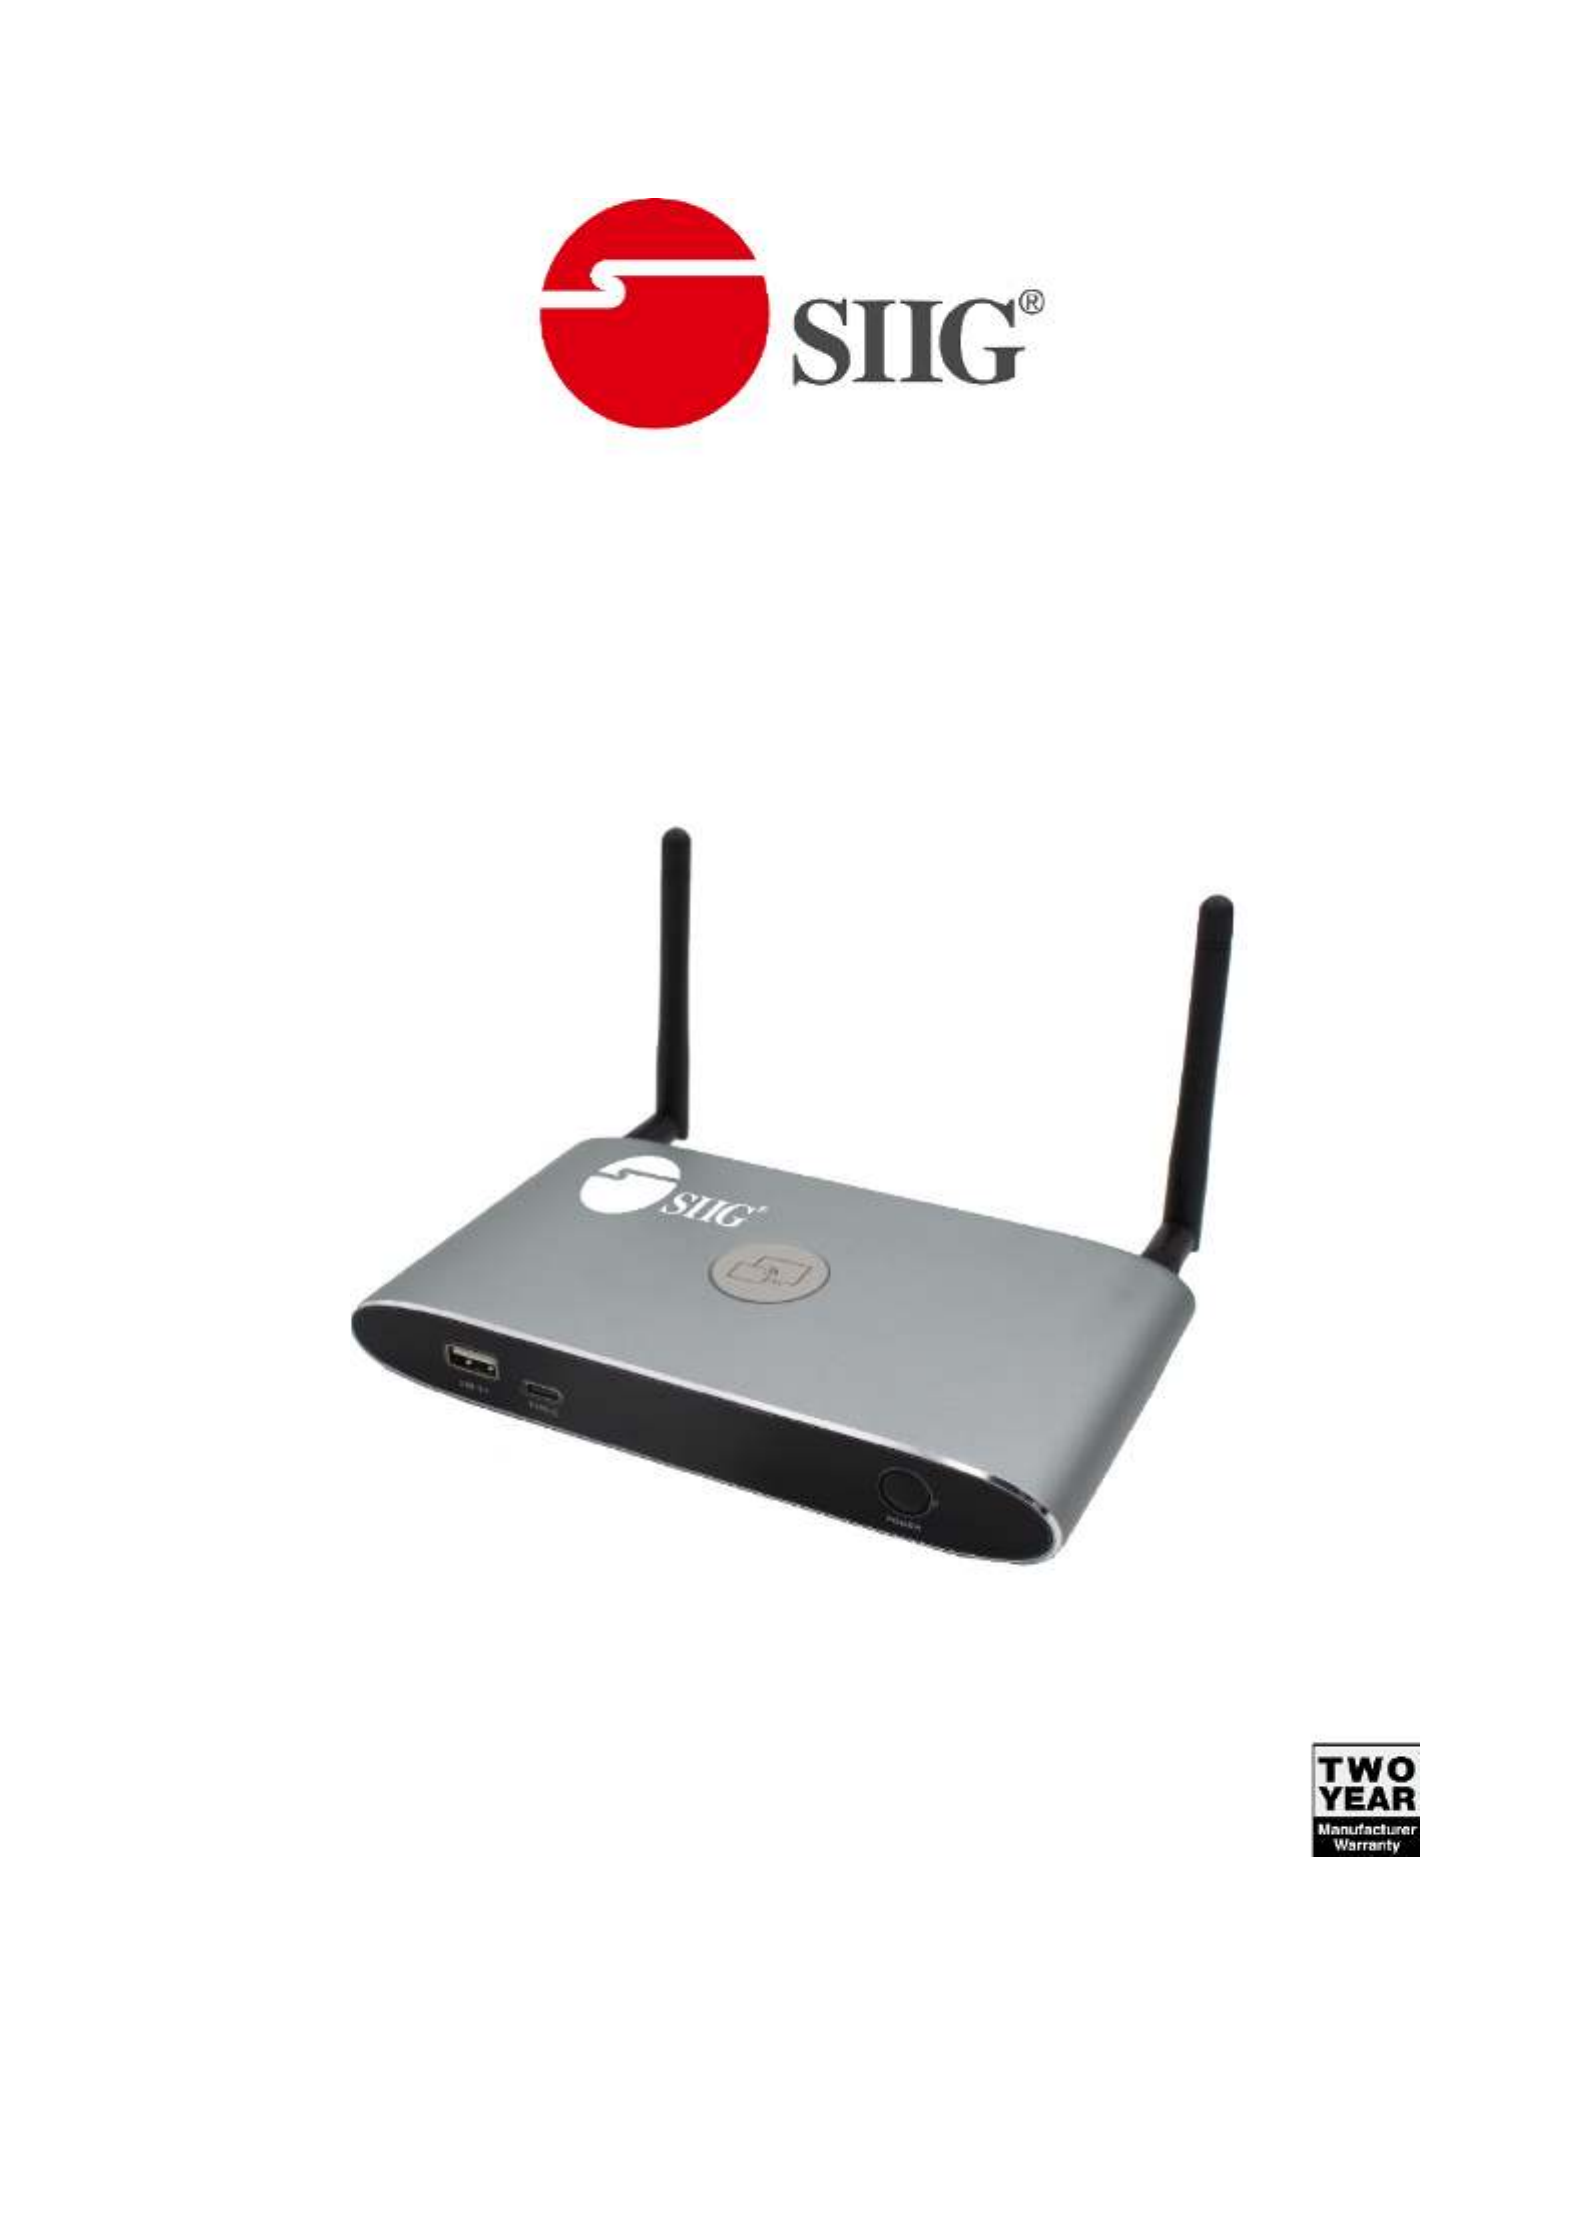
SIIG
Presentador inalámbrico
CE-H26611-S1
Lee a continuación 📖 el manual en español para SIIG CE-H26611-S1 (91 páginas) en la categoría Presentador inalámbrico. Esta guía fue útil para 9 personas y fue valorada con 4.5 estrellas en promedio por 2 usuarios
Página 1/91
1
Dual View Wireless Media Presentation
User Manual
P/N - -CE H25Y11 S1
P/N CE- - H26611 S1
04 1272A 6711- -P/N CE H2 -S1

2
Features
Support dual viewer on one display.
Support VESA PC resolution input, detecting.auto-
Can transmit PC’s mirror/extended desktop or Macbook’s mirror desktop.
Can transmit smart devices’ mirror, photos, videos, music etc.
Support USB plug in auto pairing for Wireless Media Presentation-
Support “Airplay” for apple device.
Package contents ( ) CE- -H25Y11 S1
Dual View Wireless Media Presentation (WMS)
USB A/C Dongle
Power adapter DC 12V/1.5A
Antenna x2
Quick Start Guide
Package contents ( ) CE- -H26611 S1
Dual View Wireless Media Presentation (WMS)
Wireless Media Presentation Transmitter- HDMI Dongle x2
USB A/C Dongle
Power adapter DC 12V/1.5A
Antenna x2
Quick Start Guide
Package contents ( ) CE- -H26711 S1
Wireless Media Presentation Transmitter- HDMI Dongle
Quick Start Guide

3
Specification:
WMS Specification
HDMI output
1x HDMI 19-pin female connector
Video Output Resolution 3840x2160@60Hz,3840x2160@30Hz,
1920x1080@60Hz,
Format Compliance
HDMI1.4/HDMI2.0
Video Capacity:
1080P @ <60Hz Airplay for IOS devices
1080P @ <60Hz "WirelessMedia" app
1080P @ <30Hz for all show- me button
HDCP HDCP1.4/HDCP2.2
Analog Audio Output 1x 3.5mm PC audio female connectors
LAN port RJ45 x2 100Mbps x1:1000Mbps x1,
USB interface USB3.0 x1, USB 2.0 x1,Type- C x1
Audio Input AirPlay, Windows/MAC, WMH
Control connectors
3.5mm Phoenix terminal/ RS232 interface
Number of window simultaneous
on screen
≥4+14
(
4 main windows+14 thumbnail
windows)
Number of simultaneous
connections ≥16
Data rate in wireless Up to 1200Mbps
Video Playback Frame Rate - 20 60 FPS
Latency < ,100ms Min 20ms
Wireless transmission protocol WIFI IEEE 802.11 a/g/n/ac
Frequency band 2.4 GHz & 5 GHz
WIFI Antenna
MIMO 2x2
Dimension (W x D x H)
165mm x 95mm x 24.5mm
(
including antenna
:
165mm x 125mm x 24.5 mm)
Weight 0.4lbs 200g( )
Temperature - (-4° ~ +140° F 20° ~ +60° C)
Humidity (Storage / Operating)
20% 90%-
(
non-condensing
)
DC Power
12V / POE
POE standard IEEE802.3af
Power Consumption
10W(MAX)

4
Catalogue
Layout ....................................................................................................................................................................... 6
Software Interface .................................................................................................................................................. 12
Installation .............................................................................................................................................................. 14
Wiring Diagram....................................................................................................................................................... 16
Video Connection ................................................................................................................................................... 16
Audio Connection ................................................................................................................................................... 17
LAN connection ...................................................................................................................................................... 19
Usage of USB device ............................................................................................................................................... 20
Quick- - to Start......................................................................................................................................................... 21
Mobile device: Wireless Connection .......................................................................................................... 21
Mirroring ................................................................................................................................................................ 25
Preview Window .................................................................................................................................................... 30
Whiteboard & Annotation...................................................................................................................................... 30
Whiteboard ............................................................................................................................................................ 31
Annotation .............................................................................................................................................................34
Web Setting Management Configuration .............................................................................................................. 36
Network settings .................................................................................................................................................... 39
Ethernet .................................................................................................................................................................. 49
Auto change password ........................................................................................................................................... 50
Display & Audio ...................................................................................................................................................... 51
Audio ...................................................................................................................................................................... 53
Volume ................................................................................................................................................................... 53
Airplay screen quality ............................................................................................................................................. 54
Screen display ID .................................................................................................................................................... 55
Home Screen background image ...........................................................................................................................56
System settings....................................................................................................................................................... 57
Date & Time ............................................................................................................................................................ 58
Auto standby .......................................................................................................................................................... 59
Language ................................................................................................................................................................ 60
Reset ....................................................................................................................................................................... 60

5
Config File ............................................................................................................................................................... 61
Uart Setting ............................................................................................................................................................ 61
Security Settings ..................................................................................................................................................... 62
Password ................................................................................................................................................................ 63
Connection password ............................................................................................................................................. 64
Firmware upgrade .................................................................................................................................................. 64
Other settings ......................................................................................................................................................... 65
Clear history after meeting .................................................................................................................................... 65
About device ..........................................................................................................................................................66
Updating WirelessMedia ........................................................................................................................................ 66
Check current firmware information .....................................................................................................................67
Upgrading firmware of base unit: .......................................................................................................................... 70
Upgrading and Pairing of Dongle: ..........................................................................................................................71
Upgrading Launcher: .............................................................................................................................................. 72
Operation Guide ..................................................................................................................................................... 74
Mirroring PC desktop ....................................................................................................................................74
MAC OS PC/Laptop with Dongle ............................................................................................................. 80
MAC OS PC/Laptop without Dongle ....................................................................................................... 81
Options for Apple MacOS, MacBook – Extended Screen ..................................................................83
Transmitting IOS mobile device ............................................................................................................................. 84
Transmit Android device wireless .......................................................................................................................... 84
WIFI Recommendation Setting ..............................................................................................................................86
Check the WIFI config on base unit ............................................................................................................ 86
Check the WIFI RSSI on dongle or Mobiles ............................................................................................................ 87
Problem Shooting ................................................................................................................................................... 87

6
Layout
ID Name Description
1 Front USB connector USB port, for dongle pairing, mouse control,
USB touch screen etc.
2 - - pairing. Front Type C connector Type C port, for dongle
3 -Back lit LED indicator
Initializing indicates RED, power on indicates
flashing GREEN, “Ready to share” indicates
static GREEN, “Sharing” indicates static cyan.
USB port
The USB port is used to update the software of the WMS.
The USB port is used for pairing the dongle and base unit, when the transmitter is plugged-in.
The USB port is used for connecting a mouse to create/upgrade Launcher by clicking Download
button, hide SSID, PASS, Wifi IP and Lan IP by clicking Info, check Security level button and control PC
source device, when a PC desktop is mirroring to the screen by plugging in the dongle.
The USB port is used for connecting a USB-based touch screen to create/upgrade Launcher by clicking
Download button, hide SSID, PASS, Wifi IP and Lan IP by clicking Info, check Security level button
and control PC source device, when a PC desktop is mirroring to the screen by plugging in the dongle.
The USB port is used for creating or upgrading Launcher by clicking Download button, when a USB
stick is plugged in.
Type C port-
The -Type C port is used for pairing USB Type C dongle with base unit.

7
Mechanical fixture points.
The mechanical fixture points are located at the bottom of the base unit.
ID Name Description
1 Line audio
output
2 channel analog audio output, Connect a 3.5mm mini-
jack PC connector from this jack to the Line in jack of an
audio system.
2 Rear USB3.0
connector
USB port, for USB dongle pairing, mouse control, USB
touch screen etc.
3 Reset Reset button to restore to the factory default setting.
4 HDMI output Connect an HDMI cable from this port to an
HD or 4K/HDMI2.0 display.
5 - RS 232 Connect an RS- -232 cable from this port to an RS 232
device.
6 LAN Ethernet
port 1
100Mbps, Connect an Ethernet cable between
this jack and a LAN to connect WMS to LAN.
7 LAN Ethernet
port 2
1000Mbps, Connect an Ethernet cable between
this jack and a LAN to connect WMS to LAN. Support POE.
8 DC Power
socket
Connect the included power adapter to this socket, and
connect the plug to an available electrical outlet.
9 Antenna fixture
points Screw up the included two antennas to these two ports.

8
USB port
The USB port is used to update the software of the WMS.
The USB port is used for pairing the dongle and base unit, when the transmitter is plugged-in.
The USB port is used for connecting a mouse to create/upgrade Launcher by clicking Download
button, hide SSID, PASS, Wifi IP and Lan IP by clicking Info, check Security level button and control PC
source device, when a PC desktop is mirroring to the screen by plugging in the dongle.
The USB port is used for connecting a USB-based touch screen to create/upgrade Launcher by clicking
Download button, hide SSID, PASS, Wifi IP and Lan IP by clicking Info, check Security level button
and control PC source device, when a PC desktop is mirroring to the screen by plugging in the dongle.
The USB port is used for creating or upgrading Launcher by clicking Download button, when a USB
stick is plugged in.
Factory Reset
Start up the Base unit.
When the Home Screen is shown up, press the reset button at the rear panel of base unit. Press this
button with a pointed object, e.g. an unbent paper clip until the “Factory Reset” page is shown up as
below, for at least 2 seconds.
The Base unit will reboot after 3 seconds to be default configuration.
If you do not have a picture, press and hold the reset button until the red LED in the top panel will lit,
to execute the reset.
All previous settings will be lost and you will need to do the set- up once more.

10
Transmitter-HDMI Dongle
ID Name Description
1 HDMI
connector
Using HDMI connector of the button can be plugged into a
PC/Laptop for sharing your screen.
2 USB connector Supply power, or plug into the base unit for pairing the
Button to the Base Unit or upgrade the dongle.
3 Touching
Button
Touch the sensor button to start displaying the content of
the PC/Lap-top’s screen on the main screen. Touch the
button during the meeting will toggle the sharing of the
screen.
4. LED ring
indicator Indicates the status of the button.
11
LED ring indicator behavior
When LED indicator is static green, it’s ready to mirror your PC desktop on the main screen.
When LED indicator is static red, 1) it’s mirroring your PC desktop on the screen, 2) pairing is done. You
can now unplug the Button from the base unit.
When LED indicator is blinking Green, it indicates 1) the button is plugged in the laptop and initializing
or waiting for user to start the WirelessMedia application, 2) pairing/software upgrading of the button
in the Base Unit is in progress.
When LED indicator is Off (no light), it indicates 1) the button is not plugged in the PC/Lap-top; 2) the
button is defective; 3) the USB port or computer might be defective.
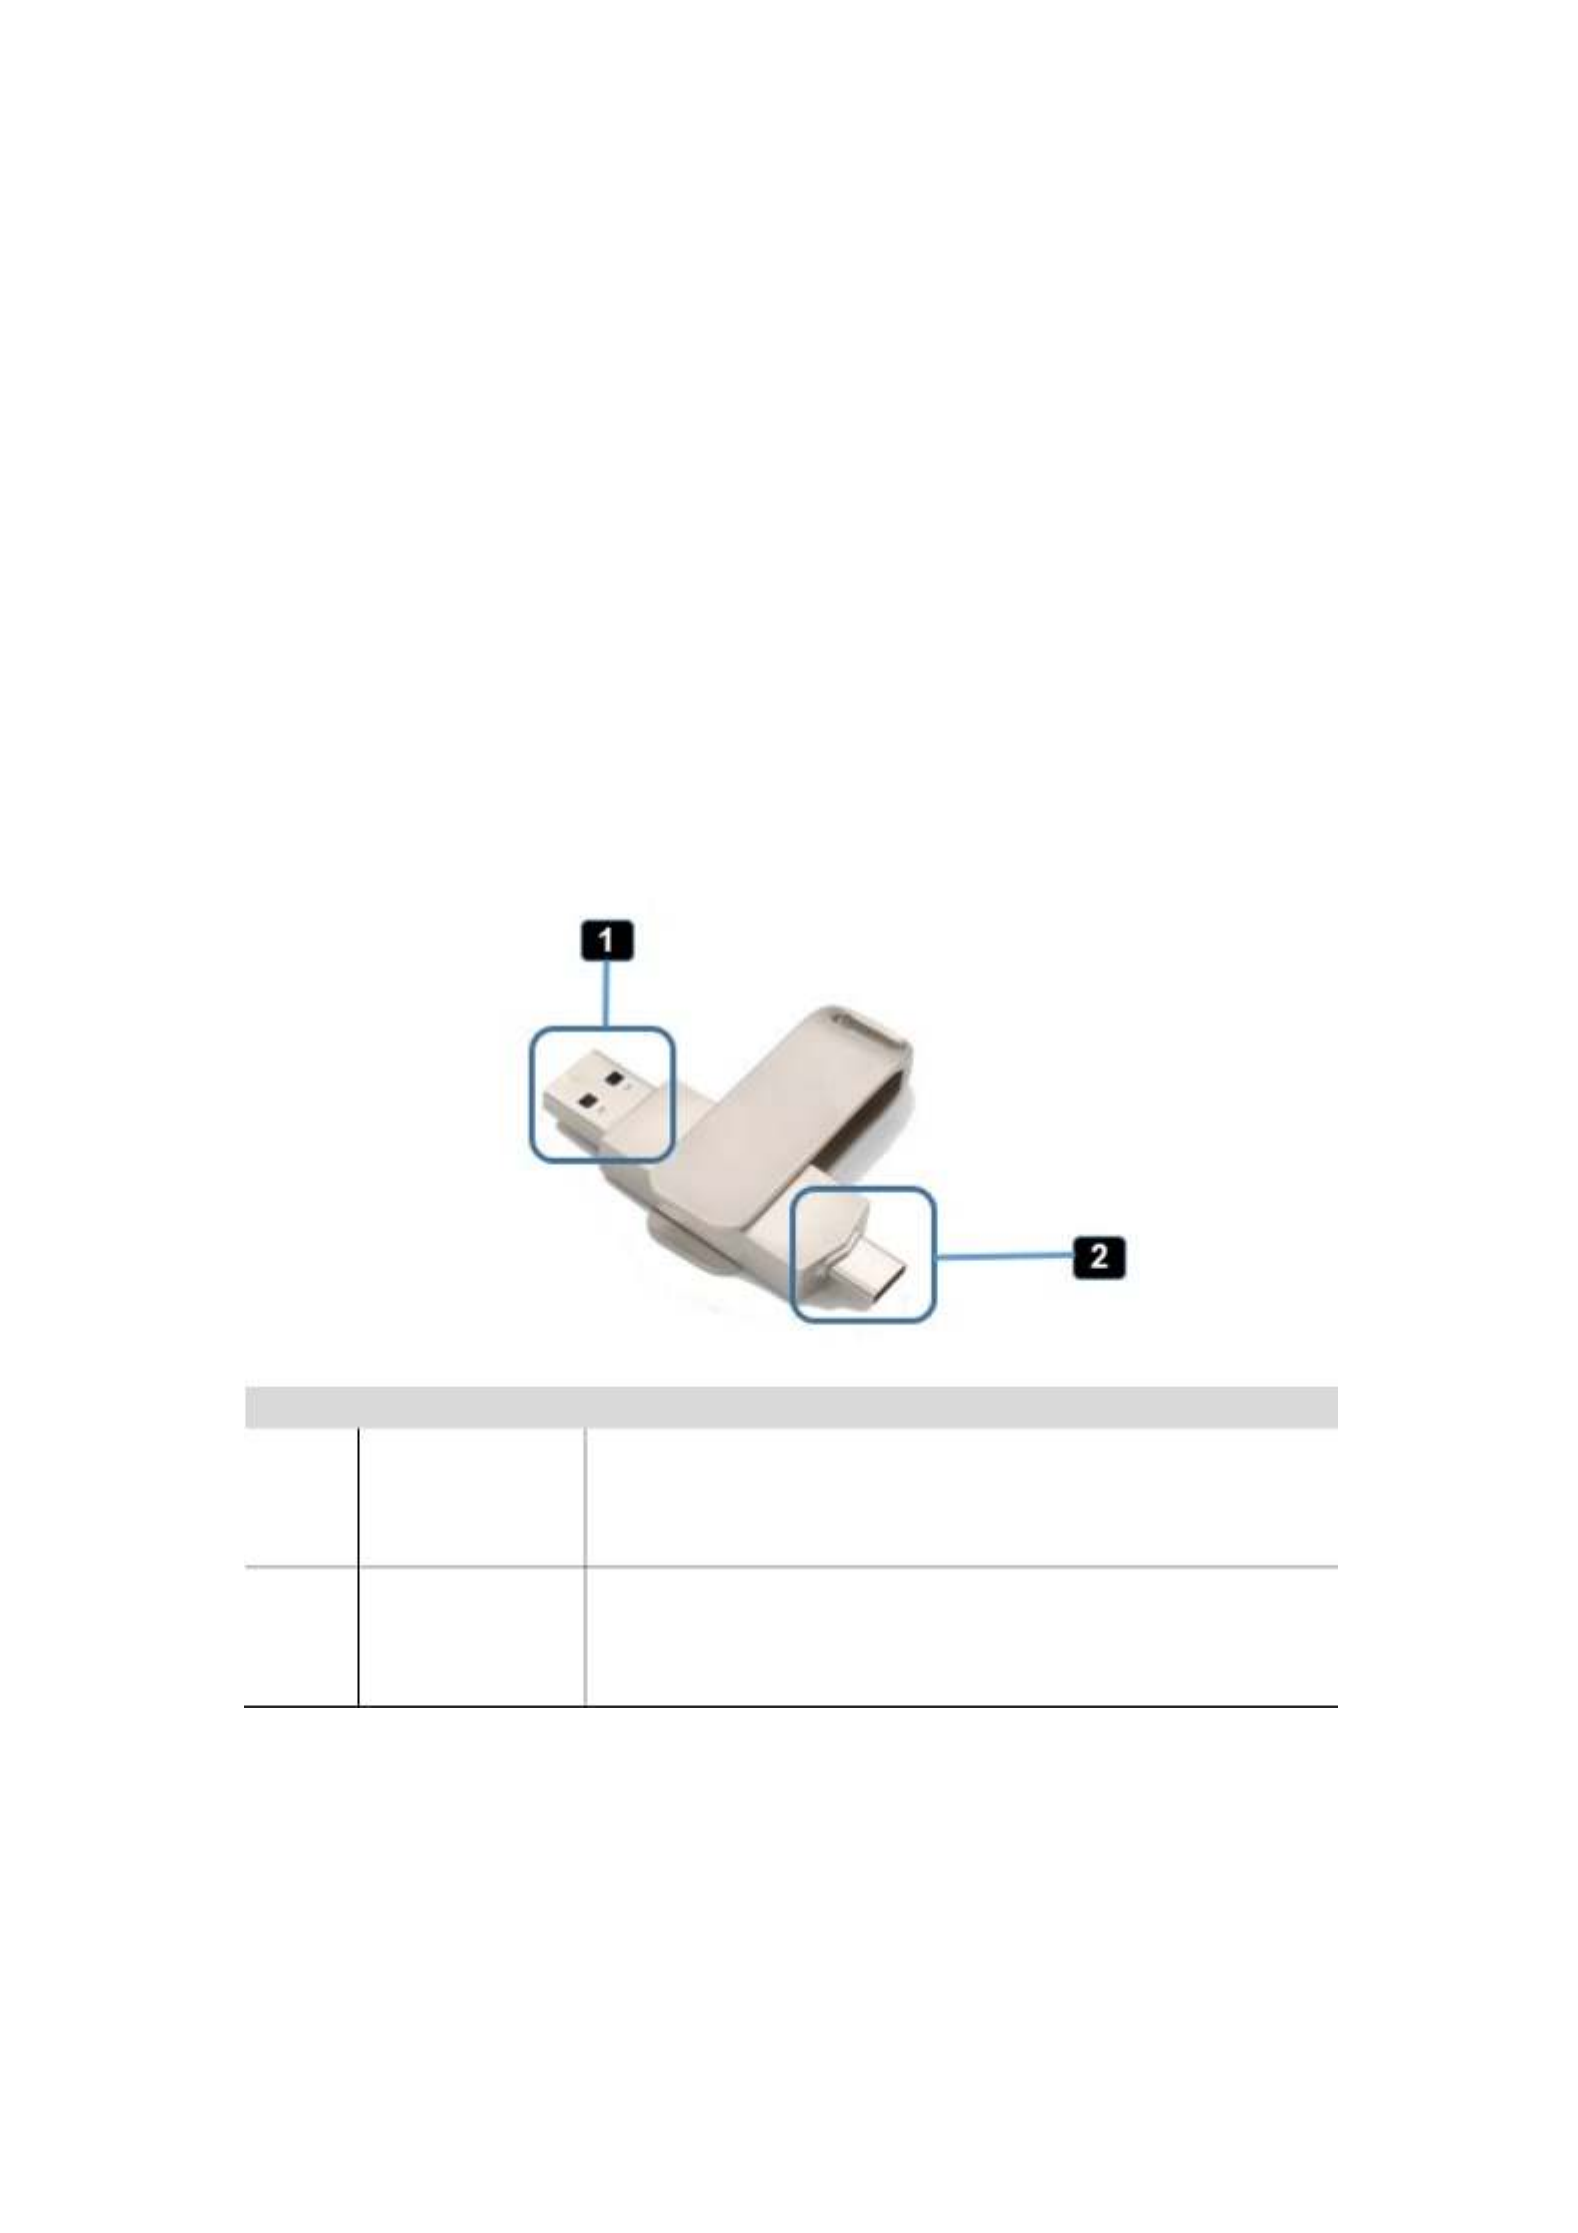
USB A/C Dongle
ID Name Description
1 USB connector Using USB connector of the dongle can be plugged into a
PC/Laptop for sharing your screen.
2 Type C
connector
Using Type C connector of the dongle can be plugged into
a PC/Laptop for sharing your screen.
Especificaciones del producto
| Marca: | SIIG |
| Categoría: | Presentador inalámbrico |
| Modelo: | CE-H26611-S1 |
¿Necesitas ayuda?
Si necesitas ayuda con SIIG CE-H26611-S1 haz una pregunta a continuación y otros usuarios te responderán
Presentador inalámbrico SIIG Manuales

13 Septiembre 2024
13 Septiembre 2024
13 Septiembre 2024
Presentador inalámbrico Manuales
- Presentador inalámbrico Sony
- Presentador inalámbrico Edimax
- Presentador inalámbrico BenQ
- Presentador inalámbrico Targus
- Presentador inalámbrico Logitech
- Presentador inalámbrico Manhattan
- Presentador inalámbrico Trust
- Presentador inalámbrico Kensington
- Presentador inalámbrico Nec
- Presentador inalámbrico Techly
- Presentador inalámbrico Ednet
- Presentador inalámbrico Iiyama
- Presentador inalámbrico Genius
- Presentador inalámbrico Barco
- Presentador inalámbrico InFocus
- Presentador inalámbrico Speed-Link
- Presentador inalámbrico Konig
- Presentador inalámbrico Viewsonic
- Presentador inalámbrico Kindermann
- Presentador inalámbrico Wentronic
- Presentador inalámbrico August
- Presentador inalámbrico Arctic Cooling
- Presentador inalámbrico Crestron
- Presentador inalámbrico Meade
- Presentador inalámbrico Vantec
- Presentador inalámbrico StarTech.com
- Presentador inalámbrico IOGEAR
- Presentador inalámbrico Intellinet
- Presentador inalámbrico Promate
- Presentador inalámbrico Mitsai
- Presentador inalámbrico V7
- Presentador inalámbrico Christie
- Presentador inalámbrico Perfect Choice
- Presentador inalámbrico Procare
- Presentador inalámbrico ByEasy
- Presentador inalámbrico Inateck
- Presentador inalámbrico HuddleCamHD
- Presentador inalámbrico Xcellon
Últimos Presentador inalámbrico Manuales
10 Octubre 2024
30 Septiembre 2024
18 Septiembre 2024
17 Septiembre 2024
17 Septiembre 2024
16 Septiembre 2024
16 Septiembre 2024
16 Septiembre 2024
15 Septiembre 2024
14 Septiembre 2024